Setup for new iof projects
In this page you will find detailed information on how to setup iof
for a new project. First a quick setup outlining the steps. In the sections
below, more detailed instructions for the individual steps are given.
Quick setup
Download the code from https://github.com/perkjelsvik/iof
Create a virtual environment inside repository and install project packages
Fill out your project metadata and save it to a file
metadata.xlsxin root location of repository codeRun
python -m src.backend.main -iAnswer
yto convert excel metadata and fill in MQTT broker informationKeep backend running or
Ctrl+Cto kill it.Navigate to
src/frontendand runpython initfrontend.pyFill in at least one username/password pair for Dash app authentication
Run
python iof_app.pyto start project Dash appIf there is data in the main database inside backend, go to
http://127.0.0.1:8050to explore the app
Installing Python 3.7
Windows 10
The latest release of Python can be downloaded from https://www.python.org/downloads/.
The currently most recent python version is 3.7.4. If you are on windows,
download for example the executable installer and use that to install. It is
recommended to add to PATH and to also allow the installer to extend the PATH length
limit of the system. For the following commands, it is assumed you are using the
cmd.exe terminal. You can of course use other terminals too, but for this
guide, the commands provided are valid for cmd.exe. Translate to your own
terminal as appropiate.
Open cmd.exe and verify your Python version by entering python -v.
It should read out the version you installed. If not, there might be issues with
python on PATH. Typically it is due to multiple python installations on the same
machine so that it does not know which version to point too. There are several guides
on how to fix these issues if you google a bit.
Alternatively, you could install the Windows 10 Linux Subsystem https://docs.microsoft.com/en-us/windows/wsl/install-win10
Linux Ubuntu
sudo apt-get install python3.7 python3.7-venv
Downloading iof repository
Clone / download the repository code from https://github.com/iof. Here is the direct download link for the latest version https://github.com/PerKjelsvik/iof/archive/master.zip. Unzip it in your desired location.
If you have git installed in your terminal, you can clone it to your desired location directly like so:
git clone https://github.com/perkjelsvik/iof
Installing repository dependencies
You should use a virtual environment. Any will work, but the recommended to use is the
built-in venv https://docs.python.org/3/library/venv.html. Inside the repository
you have downloaded, run from terminal
windows: python -m venv venv
ubuntu: python3.7 -m venv venv
This will create a venv folder in root of the repository. You need to activate this
environment everytime to run iof. To activate:
windows: venv\Scripts\activate
linux: source venv/bin/activate OR . venv/bin/activate
You should now se (venv) to the left in your terminal. This indicates that the environment
is activated. To deactivate enter deactivate. Keep the enviornment activated. Next is to
install code dependencies. When using python in terminal it will now point to the python3.7
version of the virtual environment, and the packages installed within. All the following commands
should work on both windows and linux. Begin by upgrading pip and then install the packages
used by the repository
pip install --upgrade pip
pip install -r requirements_dev.txt
You are now ready to initalize your project.
Filling out metadata.xlsx
To position tags, convert raw data, and for the frontend Dash app to work, you need metadata.
In the repository there is a file, metadata_example.xlsx, that you can use as a reference.
The file is also available here: https://docs.google.com/spreadsheets/d/e/2PACX-1vT5kx0npXn5d-5JLvW7uCfPEsXMts3d7dilHhqMWyXCn_6CNW_eRccCBxAkIZyq5bzEy-wUFNY3gZ3Y/pubhtml
Inside the document there are instructions on how to fill the individual sheets. I recommmend
duplicating the example file, and renaming the copy to metadata.xlsx. The file must
have that name for the code to recognize it later. When you modify the file, remember to remove
the blue rows of each sheet, namely the row below the column names explaining what the column is.
If not the code will most likely crash in attempts to read out information from this row.
The about sheet can be changed freely.
Initalizing backend
From the root location of the repository, run
python -m src.backend.main -i
Follow the prompts to initalize the backend. After filling in MQTT information, the
program will spawn the iof backend as a subprocess and try to subscribe to broker. If
there are no issues it will run forever. If it crashes, for example due to no connection
to broker, it will attempt to respawn infinitely. Kill it with Ctrl+C. Here
is an example of the information you will fill:
[...] Do you wish to convert metadata from an excel (xlsx) file? [y/n]: y
Please input ip-address: 127.0.0.1
and port number: 1883
username: mqttuser
Password: mqttpassword
If you for any reason kill the backend / it stops completely, and you don’t need to initalize
it again, you can run the same python -m src.backend.main command with the -i
flag. If you do need to change it, run it again with the flag, potentially with the -r
flag to, if you need to reset completely. To see all avalable commands, use the -h flag.
Alternatively, you can navigate to src/backend/.config/ and modify the files stored there
manually. metadata.toml is the converted excel metadata, while config.toml is the
MQTT broker configuration. Additionally, there is db_names.toml, topics.toml,
metadata_conversion.toml, and metadata_positioning.toml.
Initializing frontend
Due to the way the Dash app is structured, the code must be run from
inside the src/frontend/ folder. Navigate there, and for first-time
setup, run
python initfrontend.py
This will only work if backend has already been correctly initalized. If so, the metadata for the current project will be converted to a frontend-compatible file. It will then prompt you to add at least one username/password pair:
python initfrontend.py
Done converting backend metadata to frontend metadata
At least one username/password pair is needed for authentication.
It will be stored next to the dash app in a toml file in plain text.
username: dev
password: pass
Do you wish to add another username/password pair? [y/n]: n
Successfully added username/password pair(s) to file! can now authenticate in Dash app.
You are now ready to run the Dah app. To run, simply run
python iof_app.py
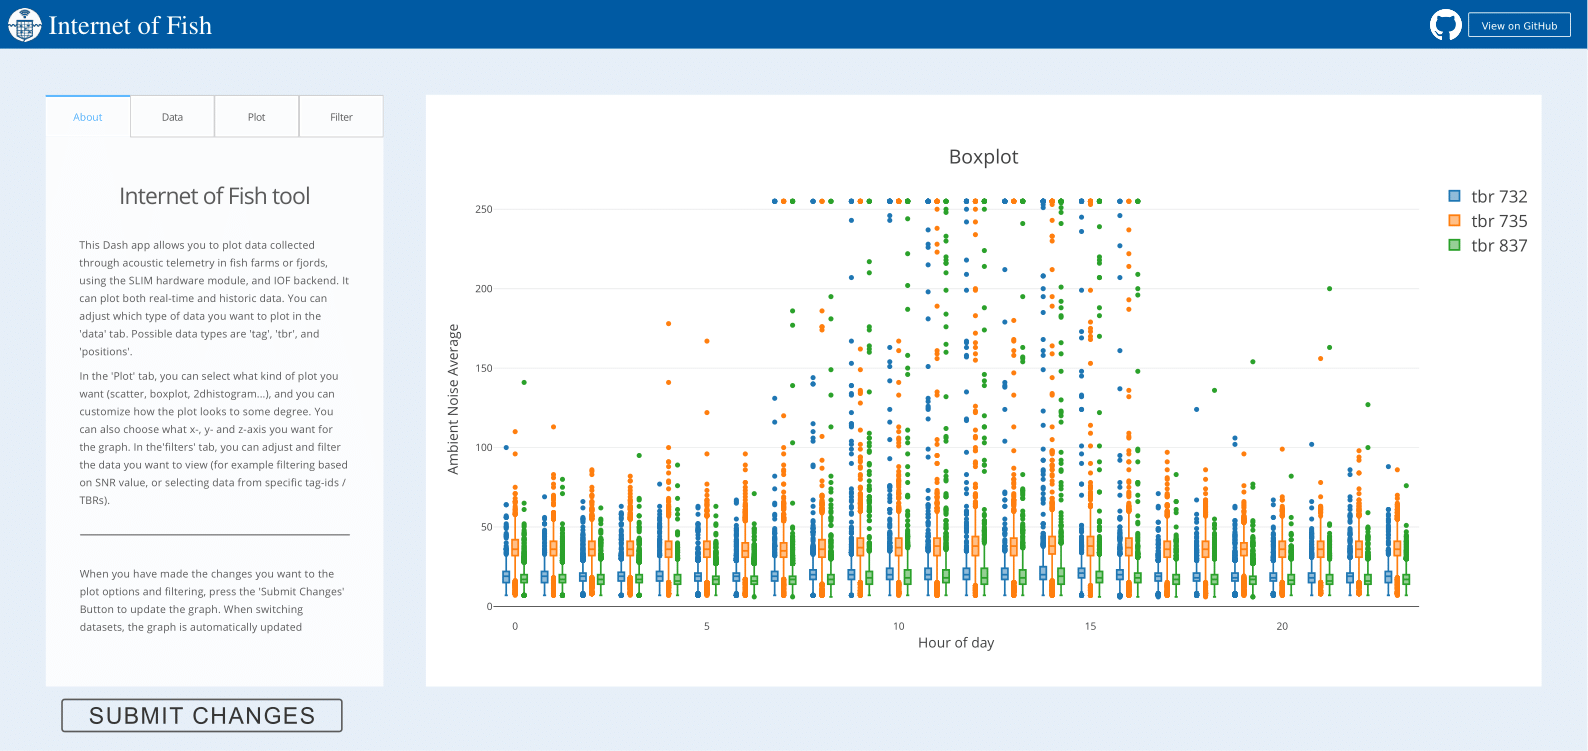
and then go visit https://127.0.0.1:8050 in your web browser. This should load the
iof Dash app, polling data from the main database located in src/backend/dbmanager/databases/,
and using metadata to provide filtering options in the app. Use the username/password combination
you provided in the initalization.
The app is essentially a Flask app. Look up how to host Flask apps on webservers / other solutions for
ways to make the app publicly available. The code you would have to change is the very last line of code
in iof_app.py.